Hi everyone, welcome to my blog!
Sharing today a tutorial for a card using First Christmas image by LeighSBDesigns
Pop on over to LeighSBDesigns for full details on how I made this card
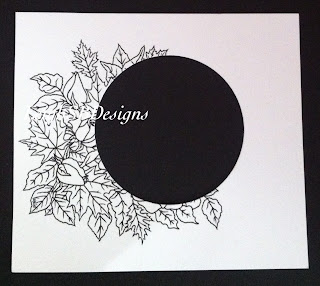
Firstly I printed out First Christmas image and 2 of the Fall Roses image (this image can be used for all seasons)
I coloured the image using Promarker, Ruby Red, Gold, Satin, Dusty Pink, Forrest Green. I also used a white gel pen, quickie glue pen and Tim Holtz Clear Rock Candy Glitter
Using the Fall Roses image I die cut the circle 2.5 inch in diameter
I coloured the image with propmakers, Artic Blue, Colbalt Blue, Meadow Green, Apple
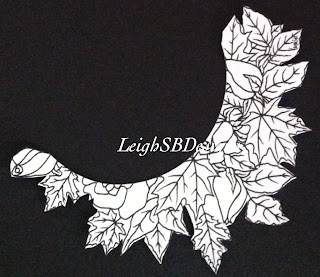
With the second image I cut out the roses and leaves
I attached the image I cut out to the first image
Attaching baby image through the circle of the card, 4.5 inch x 4 inch then adhered to the base card which I cut slightly larger.
I coloured the Snowflakes with Artic Blue and Colbalt Blue and added Stickles. To the edges of the sentiment I coloured with Distress Oxide, Broken China
First Christmas by LeighSBDesigns
Fall Roses by LeighSBDesigns
Snowflake Kisses by Sheena Douglas
Promarkes, Broken China, Artic Blue, Colalt Blue. Meadow Green, Apple
Distress Oxides, Broken China
Tim Holts Clear Rock Candy Glitter
Quickie glue pen
Thanks for stopping by,
I appreciate your comments!
Val S.


No comments:
Post a Comment